
How To Paint a Ceiling
Posted on June 6, 2019


Potentially one of the most difficult areas in your home is the ceiling. We talked to our professional painters to get tips on completing the project with ease. Here’s what they recommend how to paint a ceiling.
Use a Stain-Blocking Primer to Cover Flaws
Leaks, smoke and spills can all cause stains on your ceiling. Stains have a habit of pulling a reappearing act on ceilings. The first step is addressing the cause of the mark. Then, using a stain blocking primer will make the paint cover it flawlessly.
The professional choice is white pigmented shellac. While there are spray cans of it available, it’s easier to avoid overspray by rolling it on.
Sand Before You Paint
Each time the ceiling is painted, it adds to bumps, build up and crud stuck to it. For an untextured ceiling, it’s a good idea to start by sanding with a 100-grit sandpaper. The tooth made will help ensure the paint adheres well.
Cut in Before You Roll
Go around your corners and cut in the paint to the edge. Carefully brush the edge of where the ceiling meets the wall. Do about 10 feet at a time, then roll the area. This allows the cut in part to remain wet until you roll against it so the edge will not show.
Roll Both Directions
Experts say you should work in sections of 5 to 6 feet at a time. Moving quickly from one to the next will keep the edges from drying and making lines. You’ll be able to get a smooth finished product with a consistent thickness.
Buy Ceiling Paint
Ceiling paint is formulated in a manner that makes it less likely to drip or splatter. It can stay open for a longer time before it begins to dry. The paint comes in ceiling white but tints are available to change the color slightly if you are looking for more hues.
Don’t Be Afraid of Color
While a bright purple or yellow ceiling might not be your style, don’t be scared of color. Add a light tint to your paint to make the room feel more intimate or spacious. Any paint or home improvement store will be able to assist with tinting and color options.
You Don’t Need an Expensive Pole
There is no end to the gadgets you can buy in the store for your painting project. There are expensive and fancy poles, but your ceiling will turn out the same with a wooden broom handle. It’s cheap, light, and gets the job done.
Use a Thick, Premium Cover
One area you will want to invest in is a roll cover. When painting your ceiling, the ideal outcome is getting the most paint on the ceiling, as quick as possible with few splashes. Our pros swear by the ½ inch nap lambswool cover. While more costly, it’s a reusable item that will prove worth every penny during your first job.
Roll Gently on Textured Ceilings
Painting over a textured ceiling can be risky. The texture could come loose and cause a small mess, or it could come down in sheets causing a huge mess. Test a small, out of the way area.
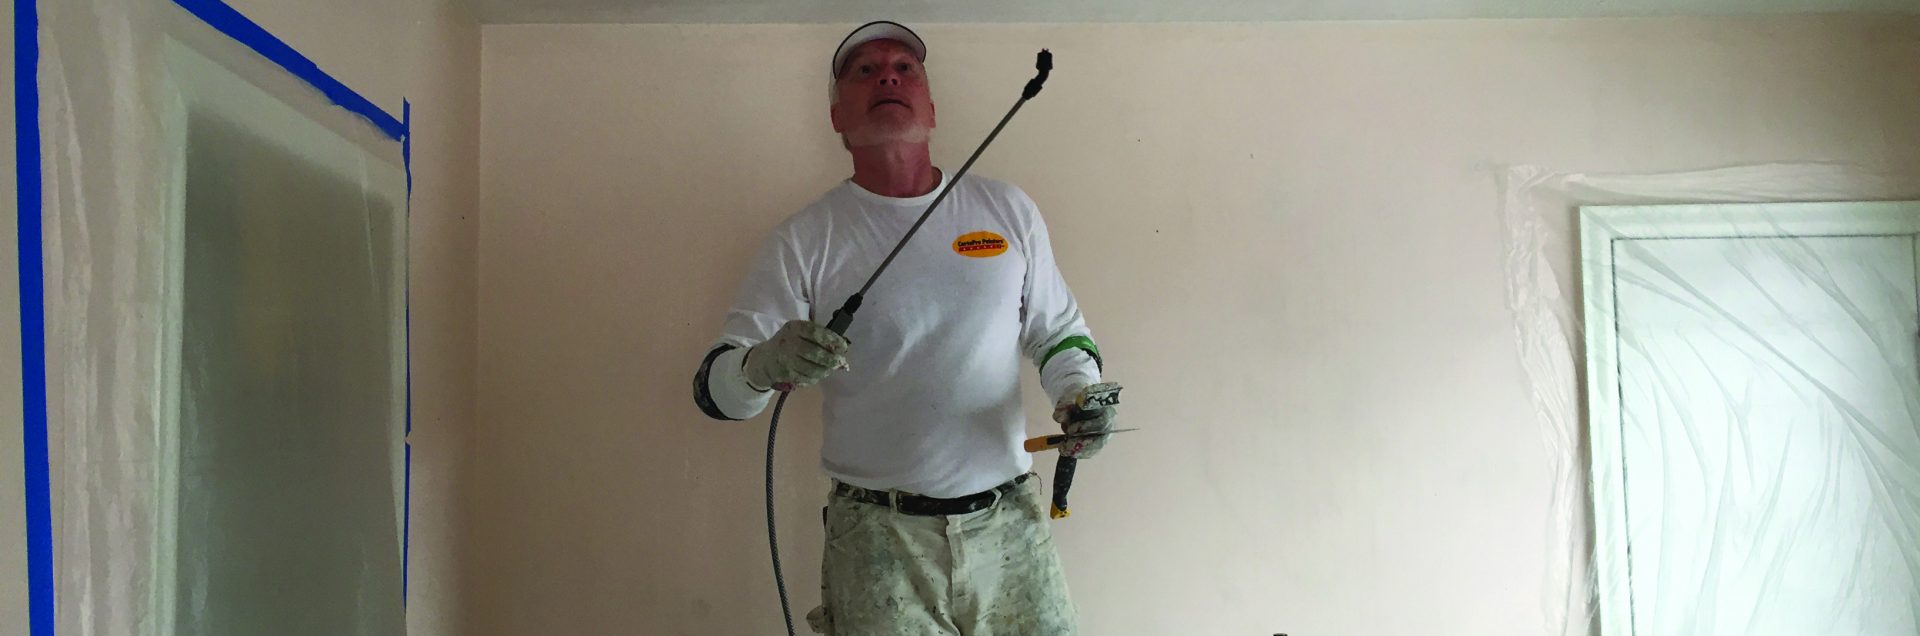
As a more fool-proof plan, try spraying the ceiling. This method is messier, but won’t disturb the texture on the ceiling.
Groove Textured Ceilings
Taping a ceiling, and cutting in on textures doesn’t work. You’ll want to groove the textured ceilings in your home. Using a putty knife, knock the texture down from the ceiling against the wall. Now cutting in around the edge of your ceiling to be painted will be easier and you won’t hit texture.
Avoid Paint Freckles
Rolling a ceiling can give you a paint shower. You can avoid a lot of paint in your hair and on your face just by wearing an old baseball hat and safety glasses. If you apply lotion to your arms and hands before you start, removal will be easier.
